


WordPress is a trendy open-source technology used for creating websites and blogs on the internet. Even if you have no prior experience in website design or development, WordPress is user-friendly and straightforward to grasp. It boasts an extensive library of themes and plugins, crafted by a committed community of developers and users. These resources allow you to personalize your website or blog to achieve the precise look and functionality you desire.
There are various ways to access Wordpress and a bunch of setup processes are more complex than others. In this tutorial, we’ll show you how to install the Simple WordPress application on AWS Cloud and it’s services with the LAMP stack.
But, before we begin, you need to know about the LAMP stack.
What is LAMP Stack and its Components?
LAMP, an acronym for Linux, Apache, MySQL, and PHP, constitutes a well-established software stack renowned for delivering high-performance web applications. Each element within this stack contributes critical functionalities:
Linux: This serves as the underlying operating system, known for being both free and open source. Today, it has an extensive worldwide user base that extends across industries. Linux is popular in part because it offers more flexibility and configuration options than some other operating systems.
Apache: Functioning as the web server, Apache processes requests and delivers web content via HTTP, ensuring that the application is easily accessible to the public via a standard web URL. Developed and maintained by an open community, Apache is a mature and feature-rich server that powers a significant portion of the websites found on the internet.
MySQL: This component represents the database, offering an open-source relational database management system for storing application data. MySQL facilitates data storage in a format easily queried using the SQL language. It's an excellent choice for well-structured business domains and is capable of handling large and intricate websites.
PHP: Serving as the programming language, PHP is an open-source scripting language that collaborates with Apache to enable the creation of dynamic web pages. When static HTML is insufficient for processes like database data retrieval, PHP code can be seamlessly integrated into the relevant sections of a webpage to introduce dynamic functionality. PHP is known for its efficiency, making programming more accessible and allowing real-time code changes without the need for compilation. Additionally, alternatives like Perl or the increasingly popular Python can be used in place of PHP.
The LAMP architecture adheres to a classic layered structure, with Linux as the foundational layer, followed by Apache and MySQL, and finally, PHP. Notably, although PHP is nominally associated with the top or presentation layer, it operates within the Apache environment.
(Note: If you have your own Ubuntu 22.04 Server then you can skip Step 1, and directly move to Step 2)
Step 1: Launch an Ubuntu 22.04 EC2 Instance on AWS
Go on your EC2 service Dashboard on your AWS Console and, Launch an EC2 instance with Ubuntu 22.04 Image

Leave other things by default, but if you’re using AWS free-tier then choose instance type t2.micro and Create Security Group with inbound rules on SSH port 22 for (anyone – 0.0.0.0/0) and HTTP port 80 for (anyone – 0.0.0.0/0),

Leave other things as default and click on Launch Instance.
After your EC2 instance is successfully launched access that instance on port 22 using your command line or putty session or you can just simply connect to that instance using the Connect option on the top side of instance details.
Step 2: Install Apache2 On the Server
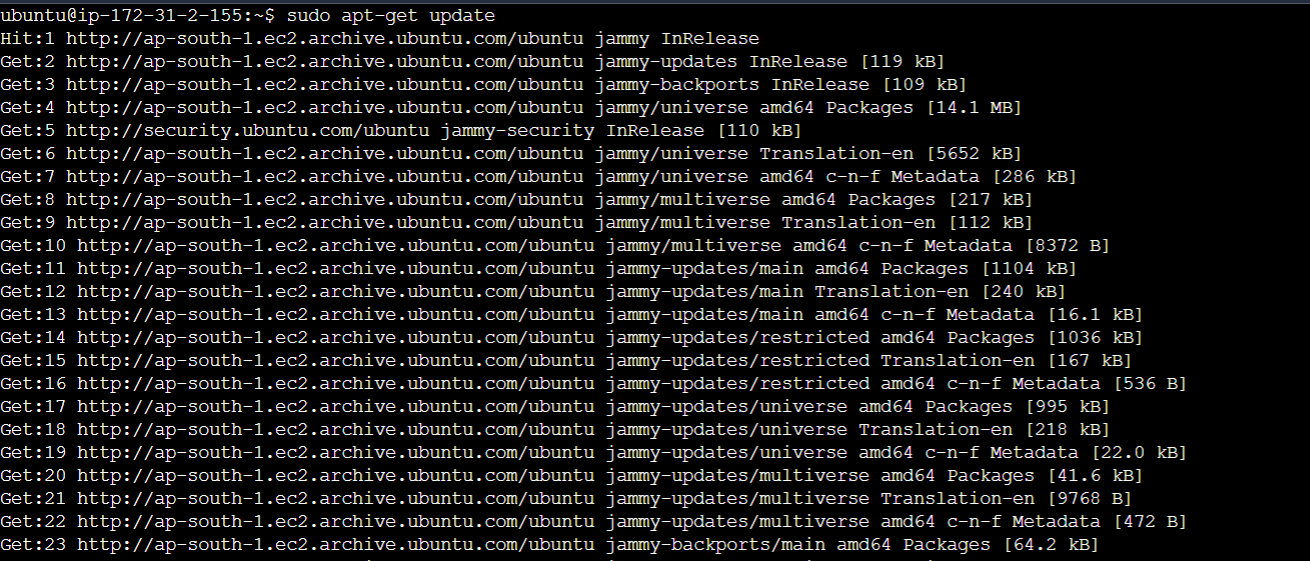
First Update your Server,
ubuntu@ip-172-31-2-155:~$ sudo apt-get update
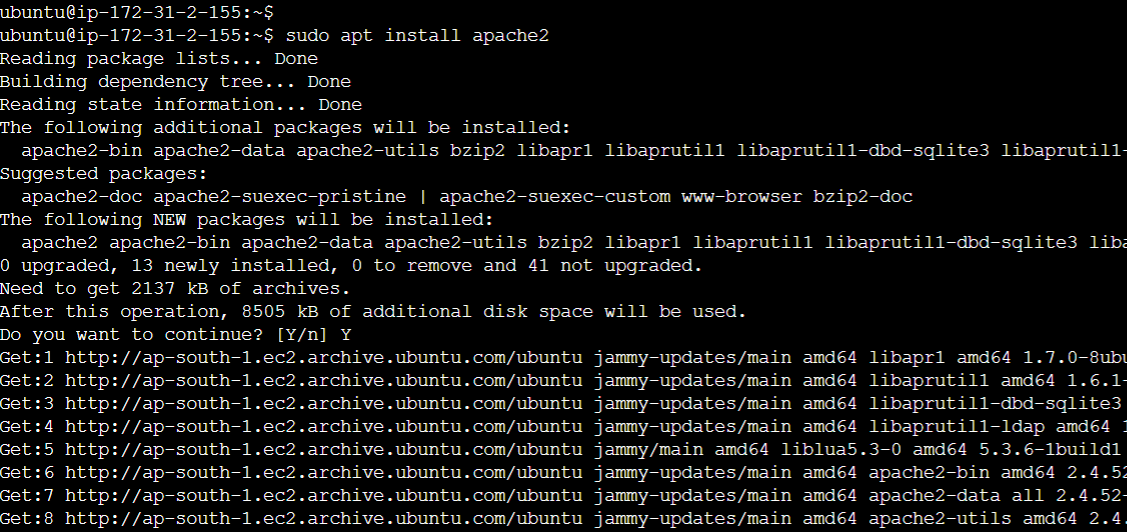
The next step in setting up the LAMP stack involves the installation and configuration of Apache2, the web server. Execute the following command to install Apache 2 on your EC2 instance or Ubuntu 22.04 system.
ubuntu@ip-172-31-2-155:~$ sudo apt install apache2
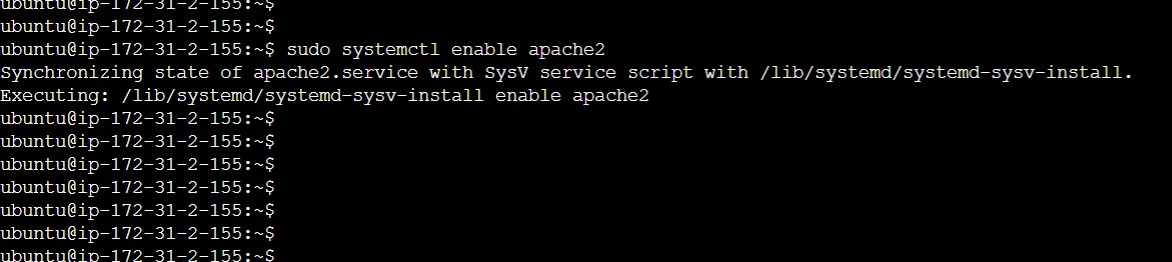
Then also run the following commands to start apache2 at system boot time, so whenever you restart or turn off & turn on your server apache2 will automatically start.
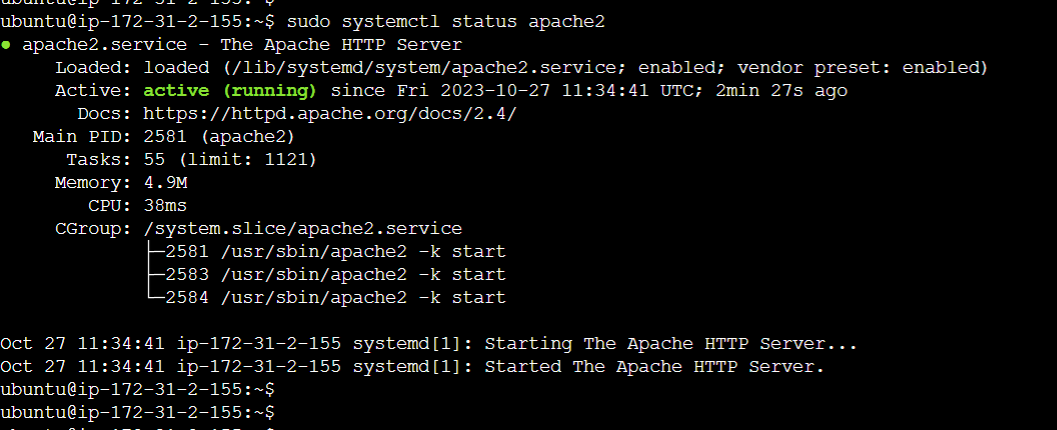
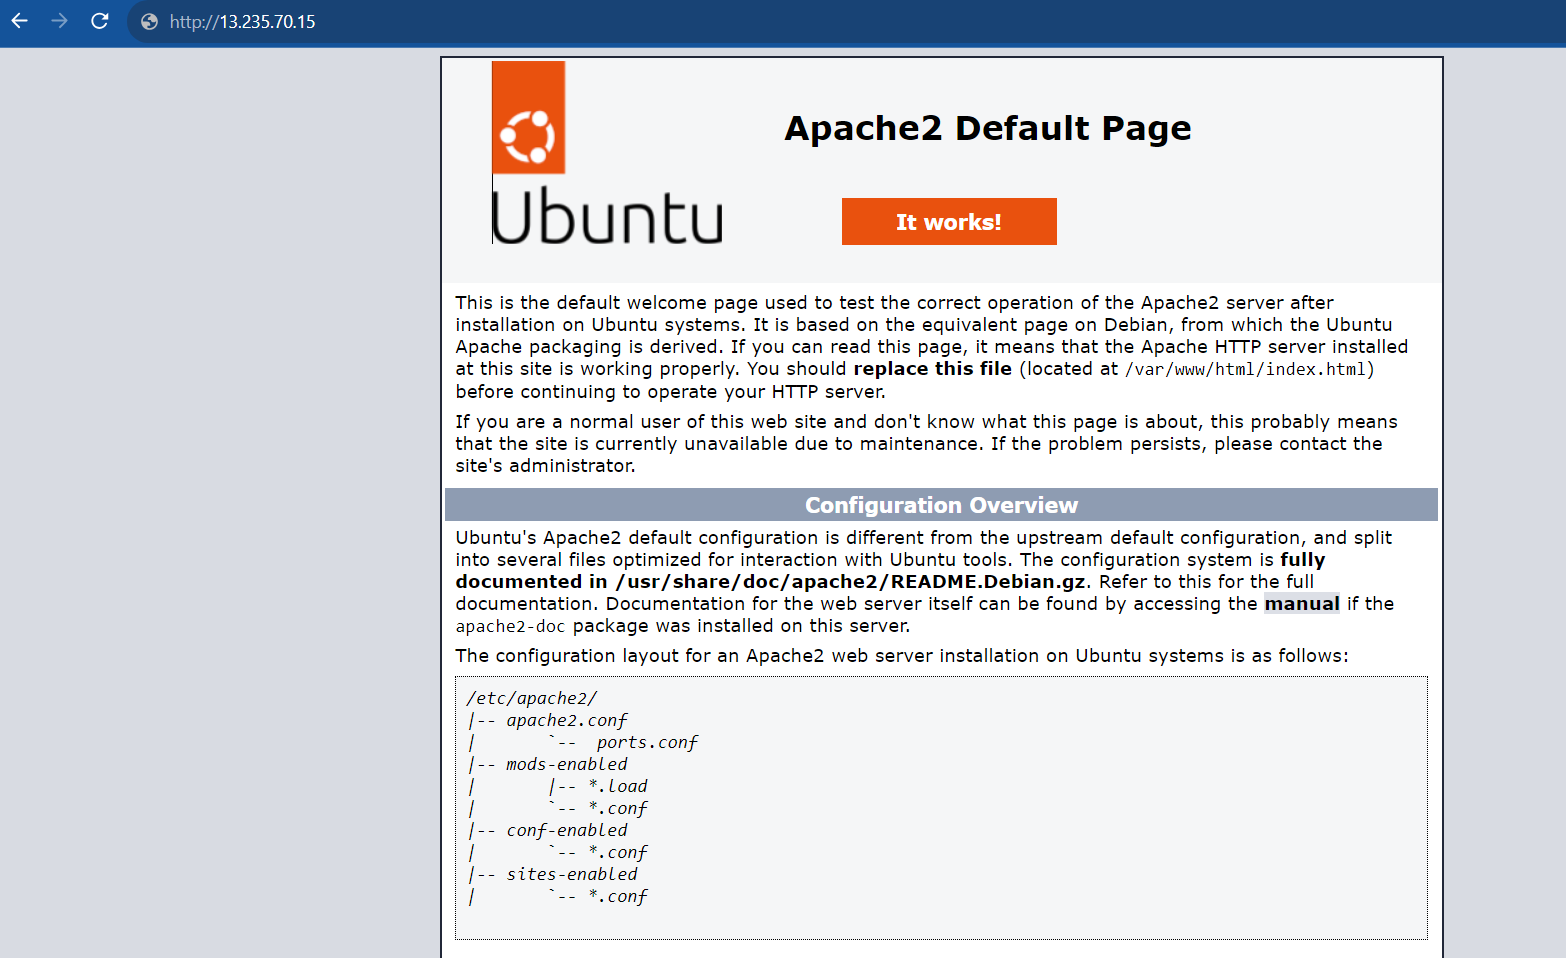
After that open your web browser, if you’re using your local machine, then go to http://localhost/ and verify that Apache is started or not
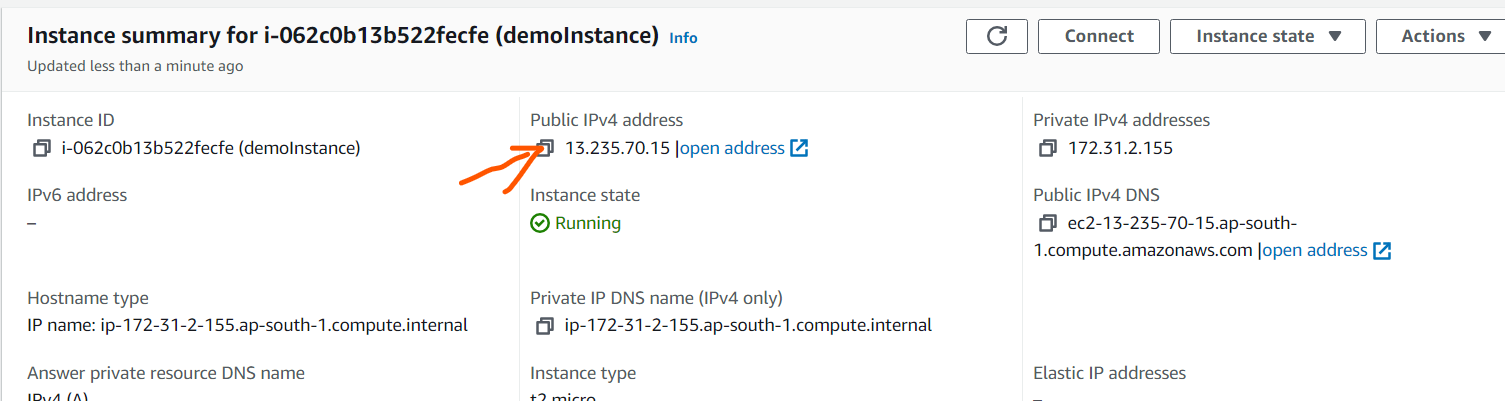
If you launched an EC2 instance from AWS then go to the public IP address of your instance which is mentioned on your instance details on AWS EC2, then go to http://13.235.70.15/ (here 13.235.70.15 is the public IP address of my instance), and verify and Apache is started or not
Now next step is to install MySql,
Step 3: Installing and Creating MySql Database and User for WordPress
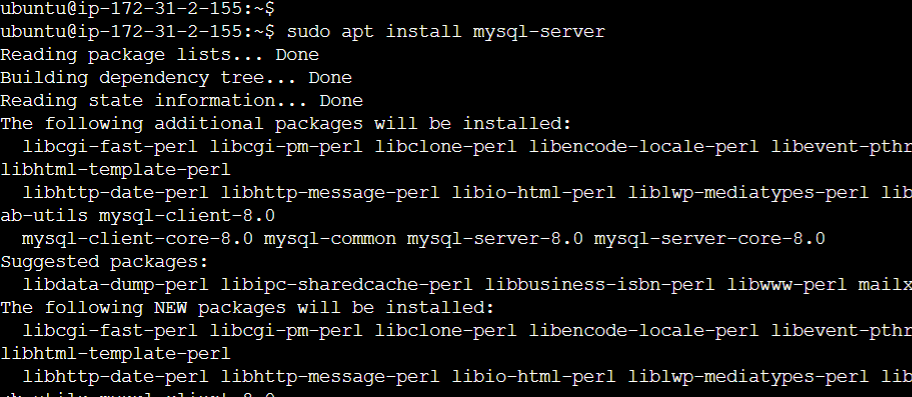
To install Mysql on your run the following command
ubuntu@ip-172-31-2-155:~$ sudo apt install mysql-server
After the database server is installed, it is strongly advised to run a security program to eliminate insecure default configurations and safeguard your database.
ubuntu@ip-172-31-2-155:~$ sudo mysql_secure_installation
After executing the command click Y, and then type the proper password for the root user mysql login
And after that click Y on every question and press Enter, for every step

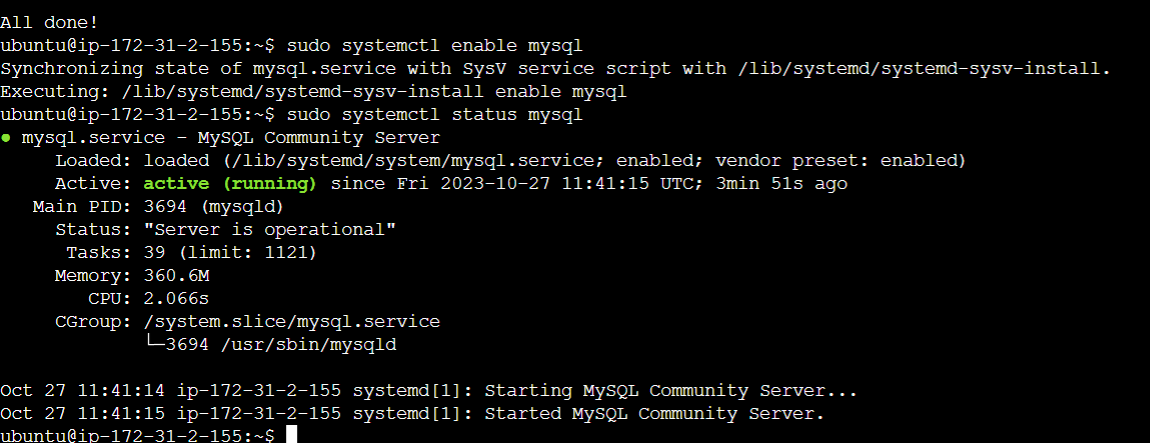
Then also run the following commands to start mysql at the system boot time
ubuntu@ip-172-31-2-155:~$ sudo systemctl enable mysql
ubuntu@ip-172-31-2-155:~$ sudo systemctl status mysql
Step 4: Configuration and Installation of PHP and Required Plugins for WordPress
Apache is responsible for serving your content, while MySQL takes care of storing and managing your data. Within our setup, PHP plays a crucial role in processing code to present dynamic content to end users. To make this work, you'll require not only the PHP package but also php-mysql, a PHP module enabling communication with MySQL databases. Furthermore, you'll need libapache2-mod-php to empower Apache to handle PHP files. As you proceed, core PHP packages will be automatically installed as dependencies.
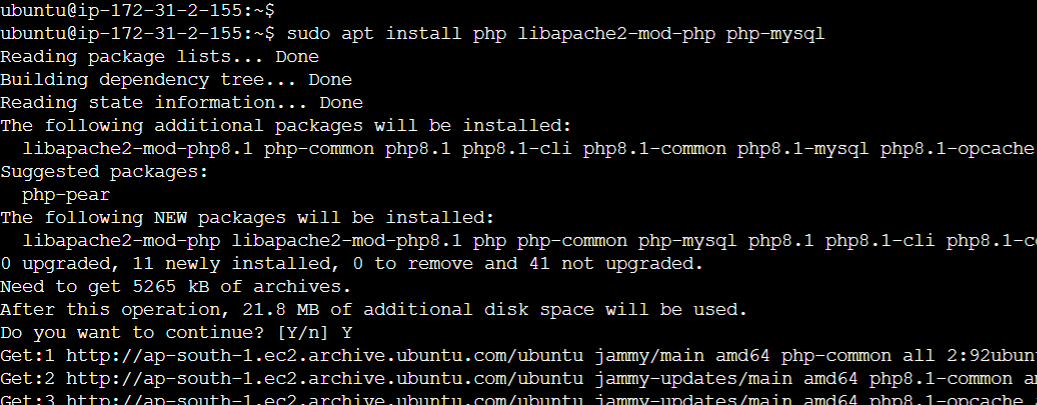
The following command will install PHP along with the MySQL and Apache modules
ubuntu@ip-172-31-2-155:~$ sudo apt install php libapache2-mod-php php-mysql
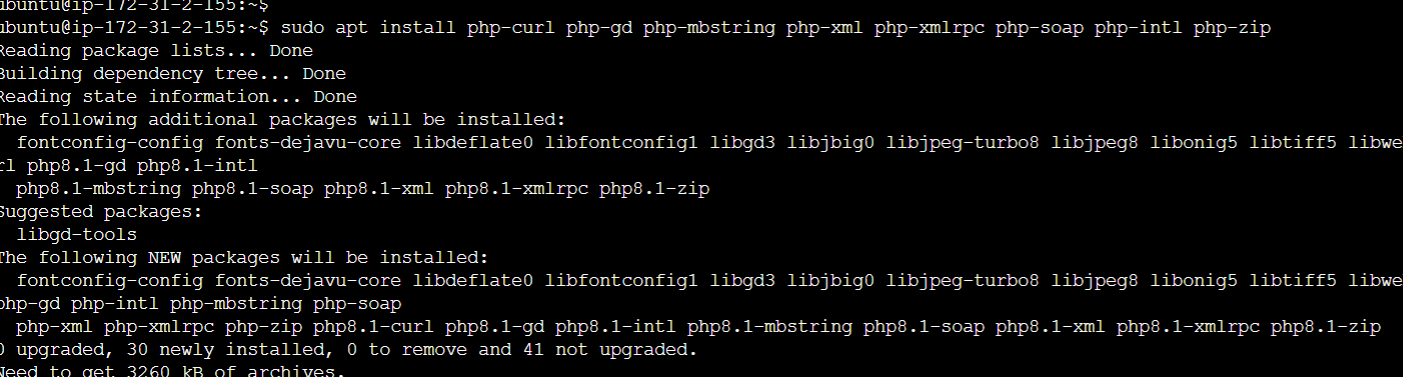
ubuntu@ip-172-31-2-155:~$ sudo apt install php-curl php-gd php-mbstring php-xml php-xmlrpc php-soap php-intl php-zip
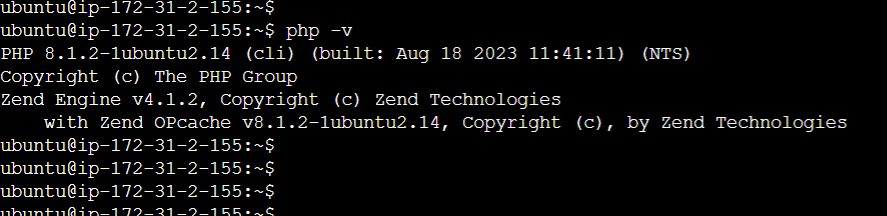
The following command will verify that PHP 8.1.2 has been successfully installed:
After successfully installing php restart Apache, by running the following command
ubuntu@ip-172-31-2-155:~$ sudo systemctl restart apache2
Step 5: Install WordPress on Server
After establishing our LAMP environment, we can initiate the WordPress installation process. Initially, we'll retrieve the WordPress installation files and position them within the standard web server root directory, which is /var/www/html.
ubuntu@ip-172-31-2-155:~$ cd /var/www/html
The following command will download WordPress
ubuntu@ip-172-31-2-155:~$ sudo wget -c http://wordpress.org/latest.tar.gz
Extract files using the tar command,
ubuntu@ip-172-31-2-155:~$ sudo tar -xzvf latest.tar.gz
ubuntu@ip-172-31-2-155:~$ ls -al
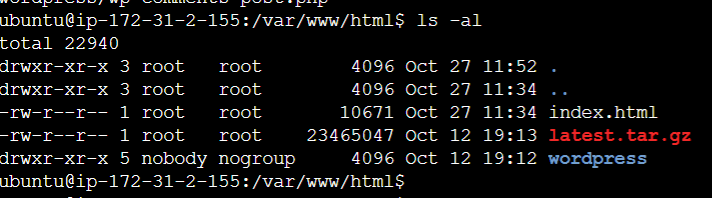
You’ll see the extracted wordpress directory, all the extracted files are placed inside that directory
The user of your web server should have ownership of these files.
In our case, we're utilizing Apache as the web server on an Ubuntu 22.04 system. You can use the following command to modify the file ownership and configure the necessary permissions accordingly
ubuntu@ip-172-31-2-155:~$ sudo chown -R www-data:www-data /var/www/html/WordPress

Step 6: Create and Configure Database in Mysql for WordPress
WordPress uses MySQL to manage and store user and site data and information. In the previous step, we have already installed MySQL, but we have to make a database and user for that database for WordPress to Use
To get started, log into MySQL root account with the help of the above command
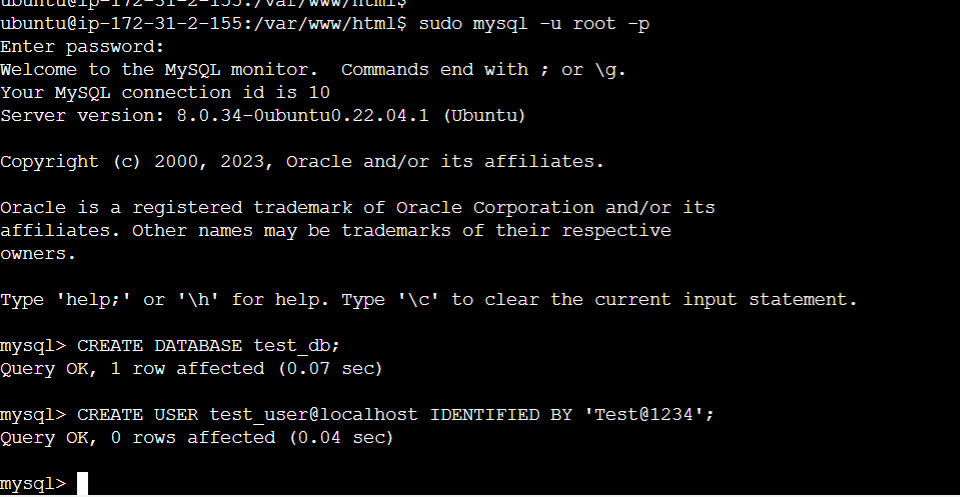
ubuntu@ip-172-31-2-155:~$ sudo mysql -u root -p
Then enter the password that you set in Step 3 while secure MySQL installation, if you forgot to set password during that time and directly click on Enter, then you can set new password with the following command
Then type
exit;
and again login with
ubuntu@ip-172-31-2-155:~$ sudo mysql -u root -p
again prompt will appear and it will ask for the password and this time put the new updated password you have created.
Now, Create a separate database for WordPress to manage with the following command
CREATE DATABASE test_db; --you can give any name to your database here
To access the new database, we will create a MySQL user account. Enter a strong password
CREATE USER test_user@localhost IDENTIFIED BY 'Test@1234'; -- you can give any username name here and password
Now you just created a new user  here
Now you just created a new user here
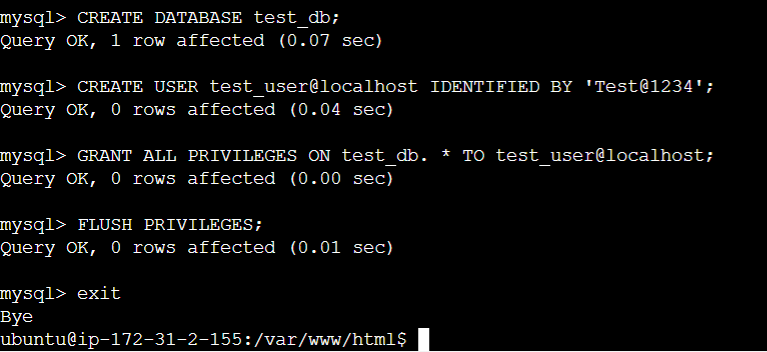
GRANT ALL PRIVILEGES ON test_db. * TO test_user@localhost;
After completing the above, flush your privileges to allow MySQL to implement the changes.
FLUSH PRIVILEGES;
exit;
Grant permission to execute to the WordPress folder with following command
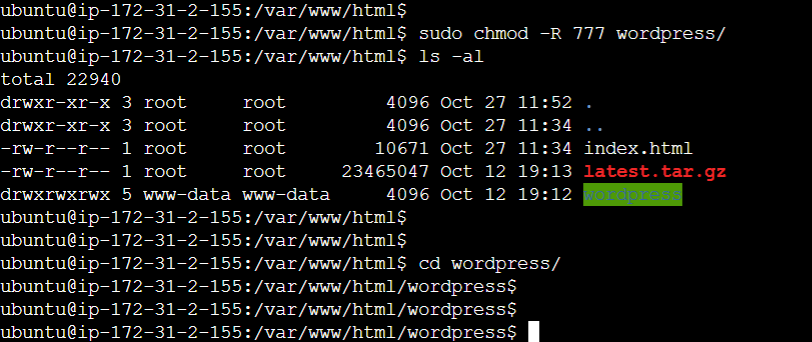
ubuntu@ip-172-31-2-155:~$ sudo chmod -R 777 wordpress/
ubuntu@ip-172-31-2-155:~$ ls -al
ubuntu@ip-172-31-2-155:~$ cd wordpress/
Step 7: Configure the WordPress on the Server
Following the database setup for WordPress, the last crucial step is configuring and establishing WordPress. To begin, you must create a configuration wp-config.php file for WordPress.
So copy the content of the sample configuration file wp-config-sample.php to wp-config.php, using the following command, so basically wp-config file will not be there at the start by executing the following command the wp-config file will be created and all the content of the wp-config-sample.php will be present in wp-config file
ubuntu@ip-172-31-2-155:~$ cp wp-config-sample.php wp-config.php
Now we have to edit the wp-config file, we will put our database credentials which help WordPress to connect with our local database that we created in the previous step
So edit the wp-config file using gedit or nano editor, we’re using nano editor, so type the following command to edit the file using nano editor
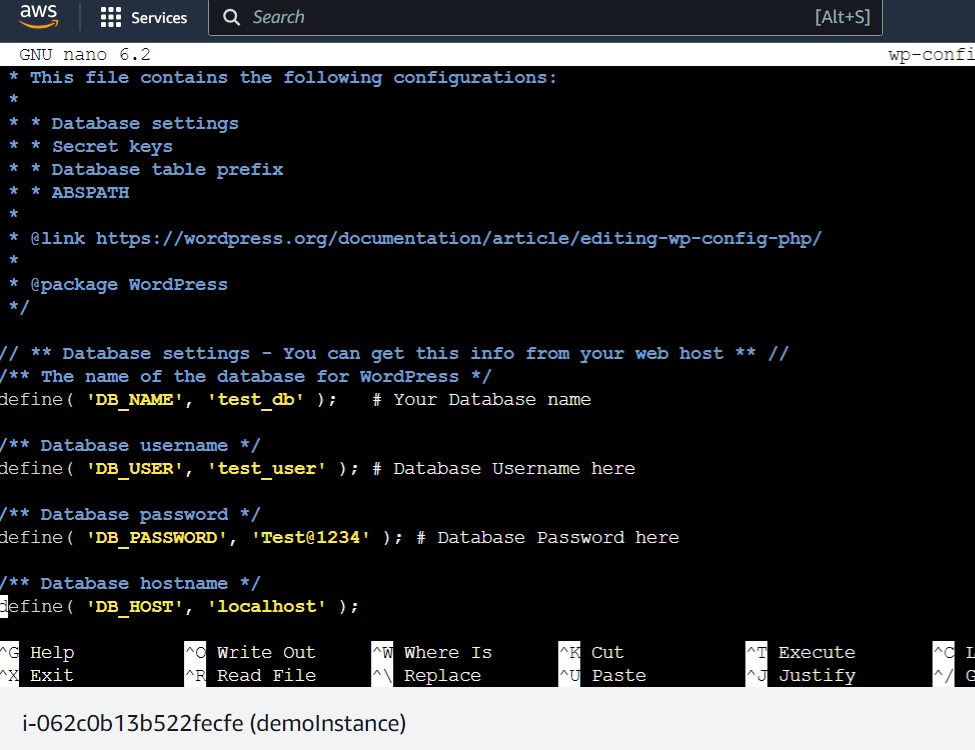
ubuntu@ip-172-31-2-155:~$ nano wp-config.php
now inside the wp-config.php file edit the DB_NAME, DB_USER, DB_PASSWORD and put your database credentials over there as you can see in above image for your reference.
After that save the wp-config.php file and once again restart Apache with
ubuntu@ip-172-31-2-155:~$ sudo systemctl restart apache2
wait for a few minutes and then if you’re using a local server instead of an AWS instance go on
and if you launched an EC2 instance from AWS then go to your public IP address of your instance which is mentioned on your instance details on AWS EC2, then go to http://13.235.70.15/ (here 13.235.70.15 is the public IP address of my instance),
and you’ll see the WordPress output like this
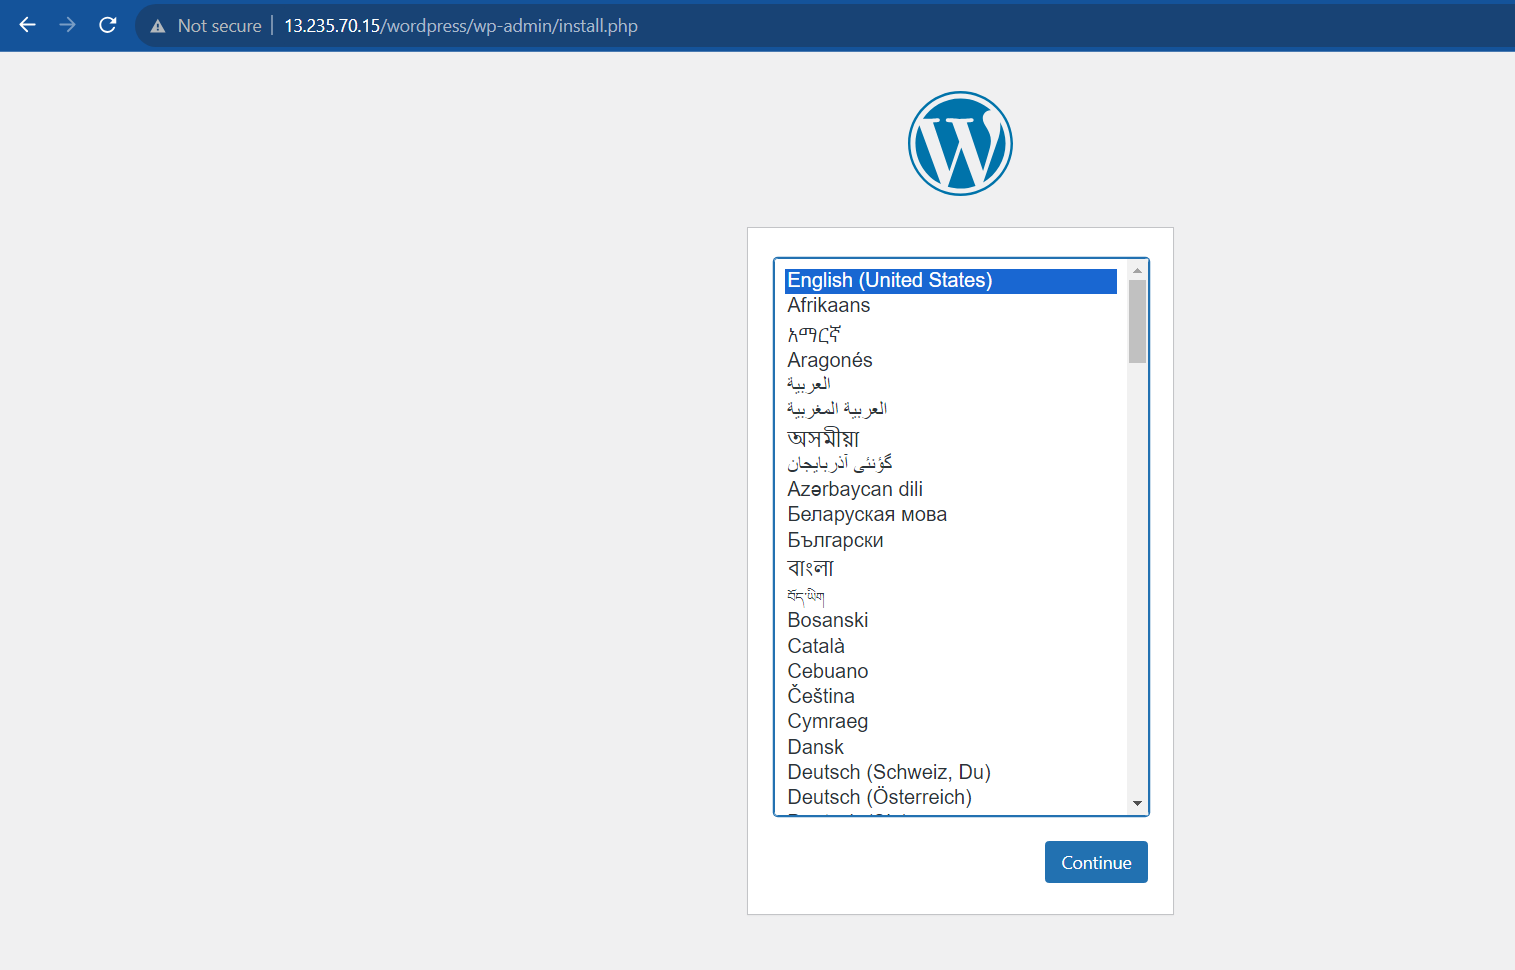
Then select the language, and click on continue
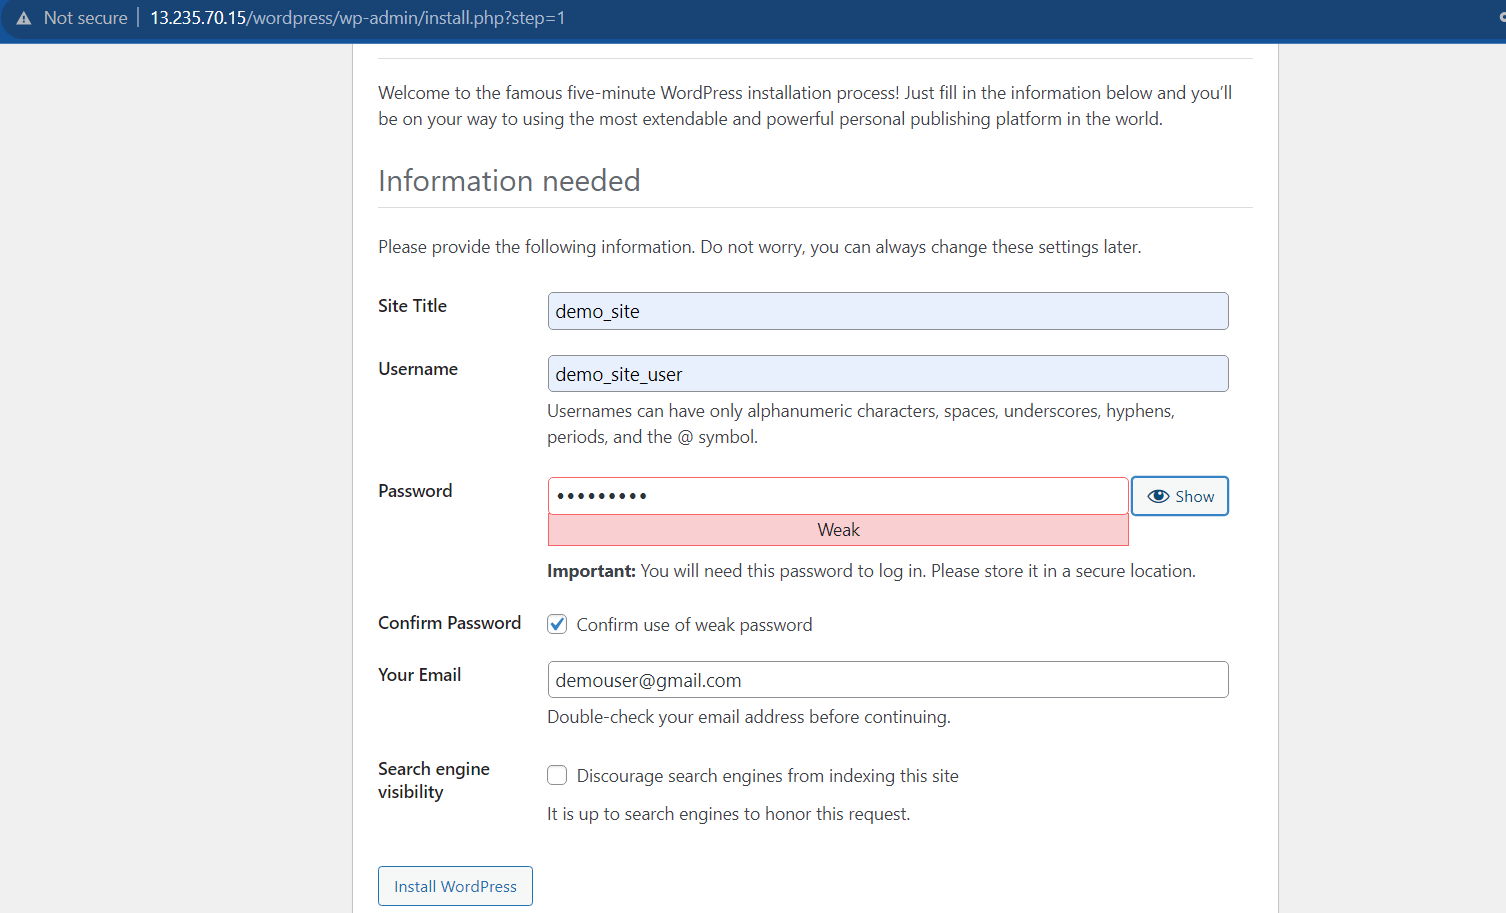
After that fill in the details like Username, password, emails, and all details and click on Install WordPress
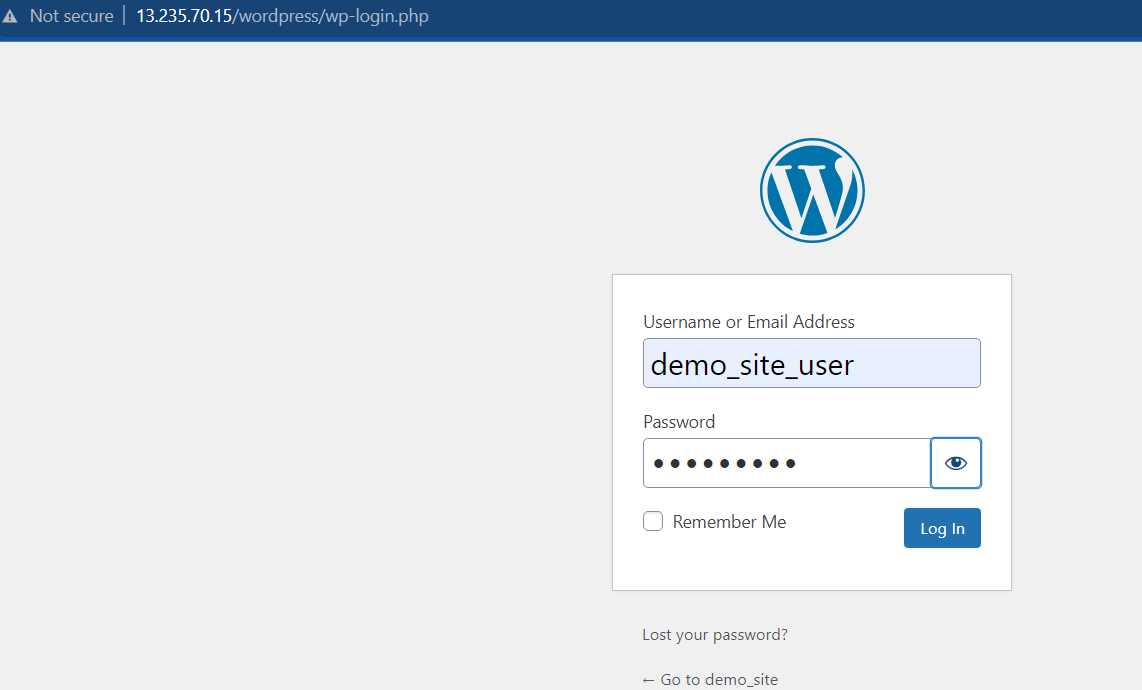
And after that, you’ll be redirected to the login screen put your username and password over there and your WordPress site Dashboard will open
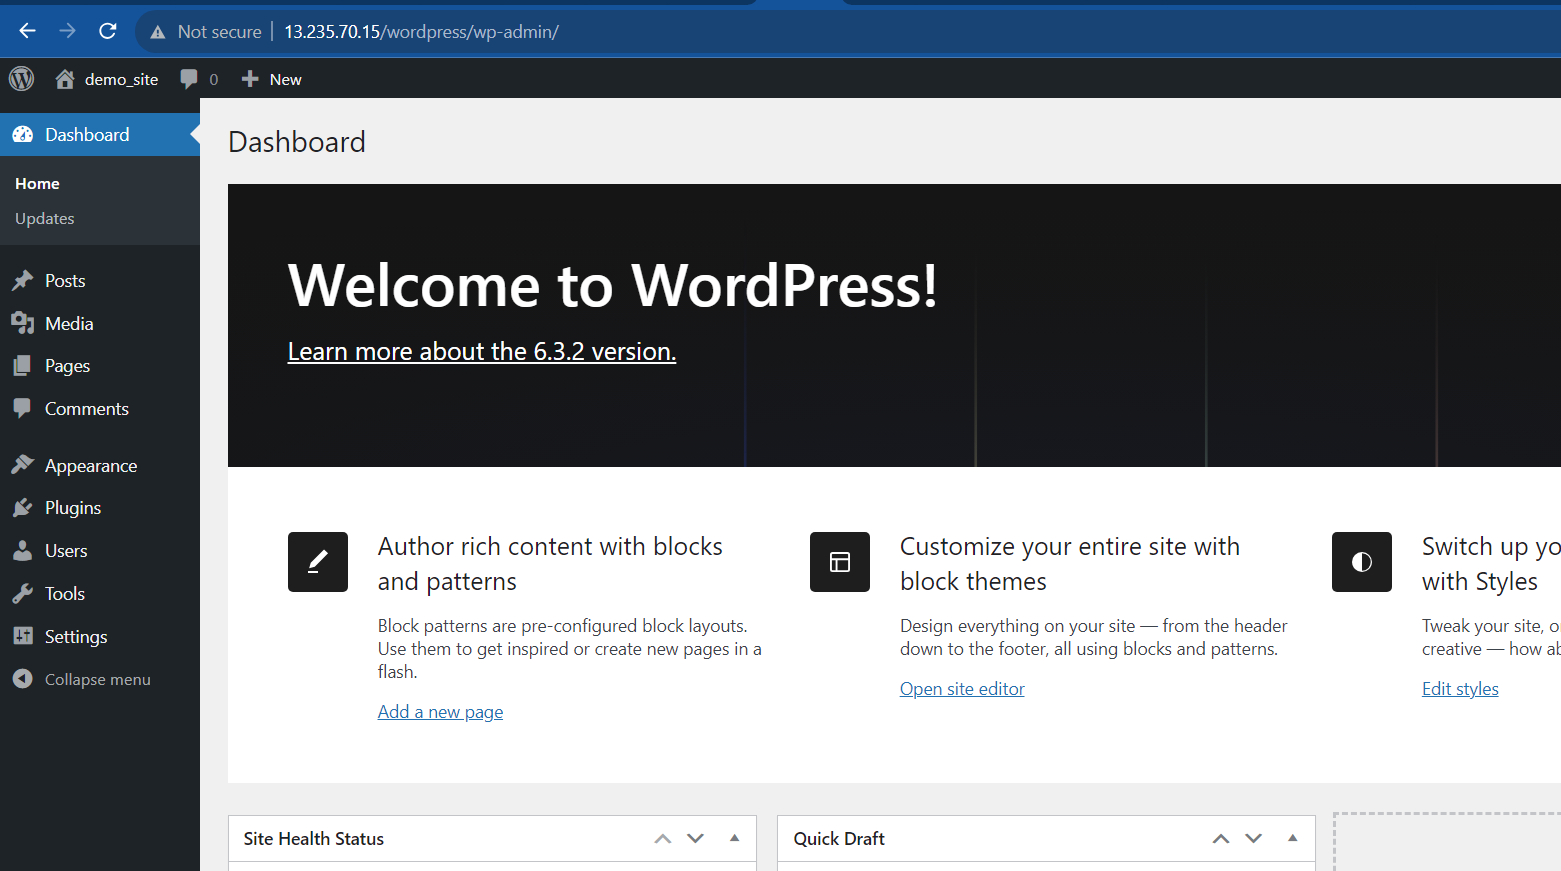
At this point, you can begin to design your WordPress website! If this is your first time using WordPress, explore the interface a bit to get acquainted with your new CMS.
Hurray!!, you’re WordPress setup with Lamp stack is Completed.
Thank you for your patience throughout the entire blog.
Reference Document